The Complete Cable Management Guide: 5 Steps to a Tidy Desk
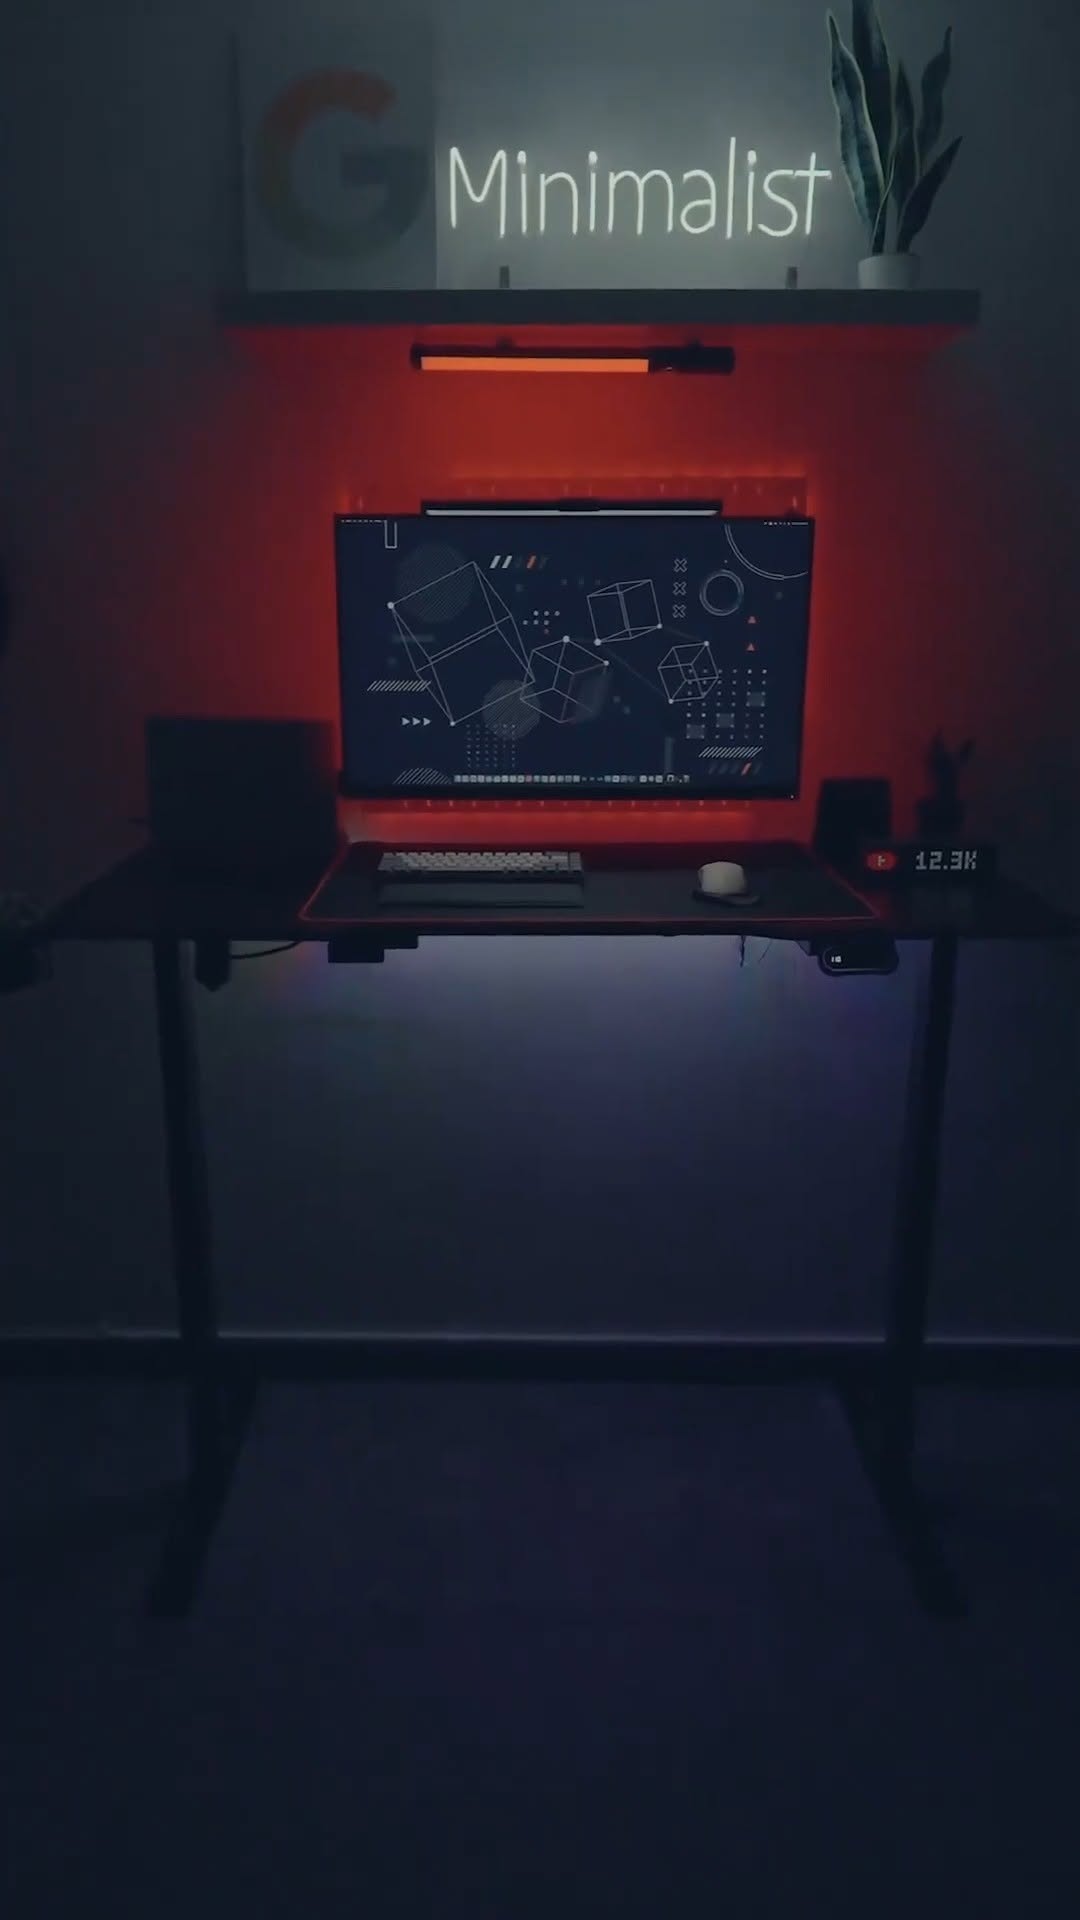
A beautiful workspace setup can be completely ruined by a chaotic mess of cables hanging under the desk. Organizing your wires is not just about clean aesthetics; it prevents accidental pull accidents and makes cleaning dust much easier.
Step 1: Unplug and Assess
Begin by unplugging all power supplies, monitor HDMI/DP wires, and USB cables. Lay them out to identify which cables are unnecessarily long and which ones can be grouped together.
Step 2: Group by Target Routing
Group cables that travel to similar locations (e.g., monitor wires going down to the PC, power cords going to the main power strip). Wrap them in reusable zip ties or mesh cable sleeves.
Step 3: Mount the Main Power Strip Under the Table
Never leave your main power strip sitting on the floor where it collects dust and looks messy. Mount it directly to the underside of your table using heavy-duty double-sided tape, brackets, or place it inside a wiremate tray organizer (like the MXG Under-Desk Organizer Tray).
Step 4: Use Cable Clamps Along Table Legs
Guide the main power strip input wire down along one of the table legs. Secure it in place using adhesive cable clips or Velcro strips to keep it flush against the steel frame.
Step 5: Articulate Monitor Wires
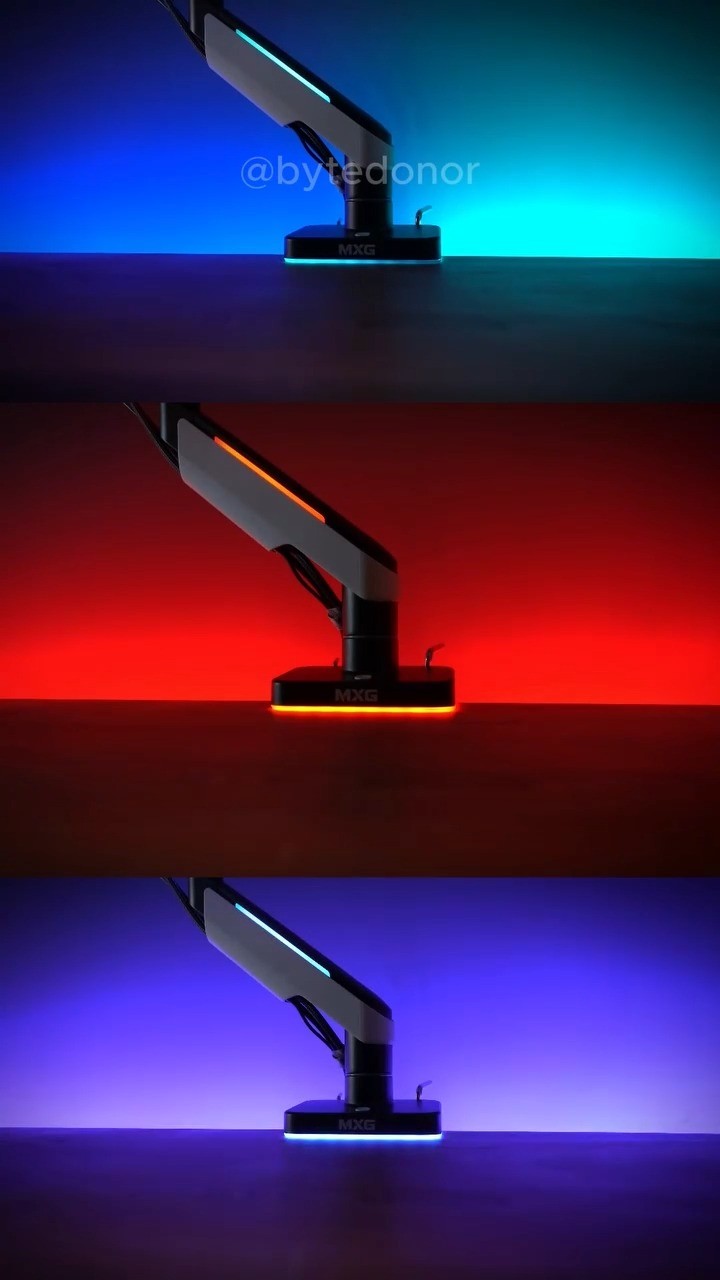
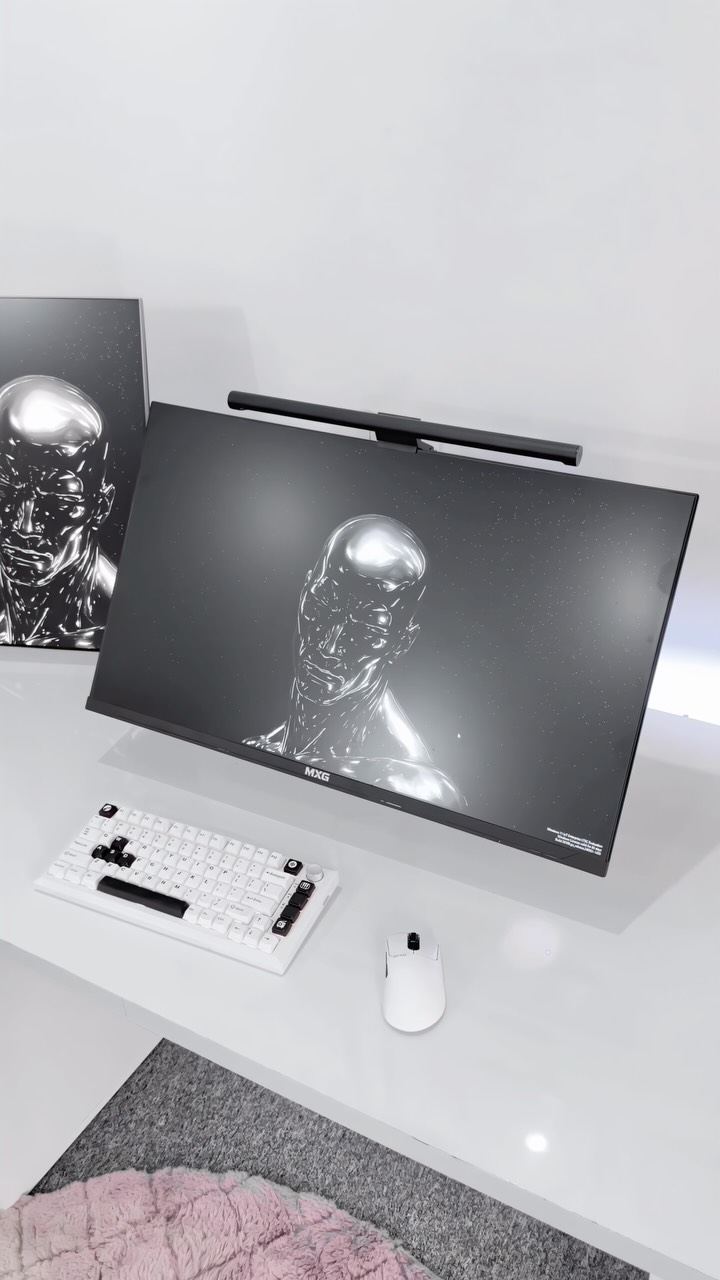
If you use an adjustable monitor arm (like the MXG EMA-24 or HMA-12R), run your display wires directly through the built-in cable routing channels inside the arm joints. This ensures your monitor can still tilt and rotate freely without pulling or snagging cables.